

That relentless drip, drip, drip isn't just annoying—it's your money and our precious water heading straight down the drain. Before you even think about picking up a wrench, there's one crucial first step: shutting off the water supply. Getting this right from the get-go is the secret to a clean, successful repair.
Your First Moves to Stop That Drip
A leaking tap is a classic household headache. Left alone, it can lead to shockingly high water bills, wasted resources, and even water damage over time. The good news? With a bit of prep, you can stop it in its tracks. These first couple of moves are all about setting yourself up for a stress-free fix. For residents in Melbourne's eastern suburbs, from Hawthorn to Ringwood, knowing these basics can save a call-out fee. If you need an emergency plumber in Melbourne, however, it's always best to call a professional.

Locating and Shutting Off the Water
First things first, you need to cut the water flowing to that tap. Your best bet is to look for a small valve right under the sink—this is called an isolation or stop valve.
- Turn it clockwise as far as it will go. This handy little valve should cut the water to that specific tap without affecting the rest of the house.
- If you can't find a valve under the sink, you'll need to shut off the water to the whole house. Your main water shut-off is usually located near the water meter at the front of your property.
Once you've turned the valve, open the leaking tap all the way. This lets any trapped water drain out and releases the pressure in the pipe, making it safe to start work. You'll know you've done it right when the flow slows to a trickle and then stops completely. Sometimes finding the real source of a leak is the hardest part; our guide on how to detect water leaks can help you play detective.
Identifying Your Tap Type
Okay, water's off. Now, what kind of tap are you dealing with? Not all taps are created equal, and the fix for one won't work for another. In most Melbourne homes, you'll find one of two types:
- Compression Taps: These are the old-school taps with separate handles for hot and cold. They rely on a simple rubber washer to create a seal and stop the water.
- Mixer Taps: These are the more modern, single-lever taps that control both temperature and flow. They usually contain a more complex ceramic disc or a ball-type cartridge.
Knowing which type you have is absolutely essential because the parts you'll need are completely different. A washer isn't going to help a cartridge tap, and trying to force it is a recipe for frustration. This is one of those small details where a simple DIY job can go sideways, sending you back to the hardware store. If you're in Balwyn North and unsure, a quick call to a local plumber can save you a second trip.
Taking a moment to get this right is what we pros do on every job. It’s this kind of skilled maintenance that has made the plumbing services industry in Australia so vital. It just goes to show how much we all rely on keeping our homes in good working order.
Gathering Your Tap Repair Toolkit
Let's be honest, tackling a leaking tap is one of those classic DIY jobs that delivers a huge sense of satisfaction when you get it right. But the secret isn't about brute force; it’s all about preparation. Having the right tools and parts ready to go before you start turning spanners is what turns a frustrating chore into a smooth, simple fix.
Think of it like cooking – you wouldn't start a recipe without having all your ingredients measured out. Plumbing is no different. Finding a plumber near you with the right tools is key, and at Amari Plumbing, our vans are fully stocked for any job in Melbourne.
Before you even think about dismantling your tap, you need to pull together a basic kit. You probably have most of this stuff lurking in your toolbox already, but a few items are absolutely non-negotiable for getting the job done properly.
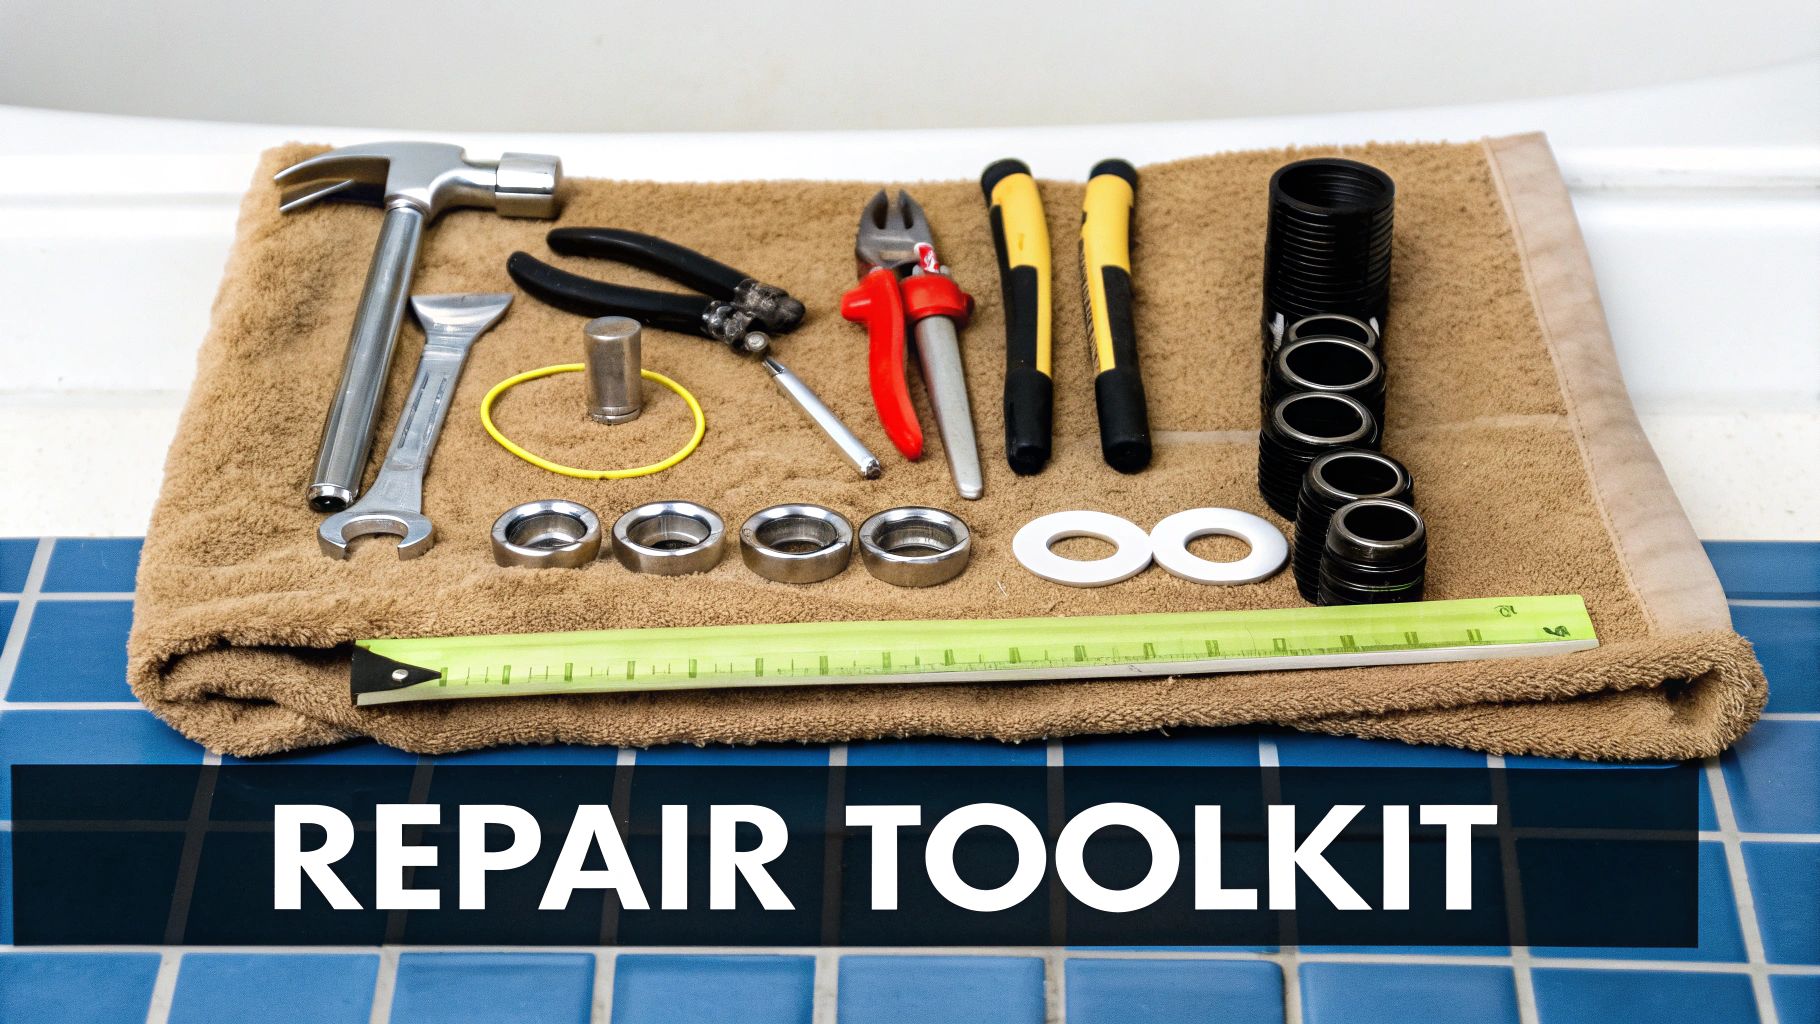
DIY Tap Repair Toolkit Checklist
Here’s a quick rundown of what you’ll need to have within arm's reach. This isn’t just about making the job easier; it’s about doing it safely and making sure the fix actually lasts.
| Tool or Part | Primary Use | Pro Tip |
|---|---|---|
| Adjustable Spanner | Your go-to for loosening and tightening the various nuts on the tap assembly. | A good quality spanner with smooth adjustment will prevent stripping nuts. |
| Screwdrivers | For removing handle screws, often hidden under a little decorative cap. | Keep both a Phillips-head and a flat-head handy; you never know what you'll find. |
| Multigrip Pliers | Perfect for getting a solid grip on stubborn, corroded parts that refuse to budge. | Wrap a cloth around the tap parts before gripping with pliers to avoid scratches. |
| Old Towels or Rags | Protecting your sink from dropped tools and mopping up any leftover water. | A thick towel in the basin is a must. It’s saved many sinks from a nasty chip! |
| Replacement Washers | The most common culprit for compression tap leaks. | Always buy a multi-pack with various sizes – it's cheap and saves a second trip. |
| Tap Reseating Tool | A specialty tool for grinding a smooth new surface on a worn valve seat. | An essential bit of kit if you've replaced the washer and the drip persists. |
Having these items laid out and ready to go will stop you from running back and forth to the garage, turning a quick job into an all-afternoon affair.
Getting the Right Replacement Parts
This is the exact spot where so many DIY repairs fall over. Grabbing the wrong size washer or cartridge is a surefire way to make sure the leak comes straight back. The easiest way to avoid this? Take the old, worn-out part with you to the hardware store for a direct comparison.
It's a massive industry. The Australian plumbing goods wholesaling market supplies these very parts to plumbers across Melbourne and beyond. You can get a better sense of this crucial supply chain by reading up on plumbing goods industry insights.
Pro Tip: Before you head out, snap a few clear photos of your tap and the dismantled parts on your phone. It can be a lifesaver when you’re trying to explain to the person at the trade counter exactly what you need.
Specialised Gear for That Perfect Seal
Sometimes, even with the right parts, the drip continues. This is common with older taps. If you've swapped the washer and it’s still leaking, the problem is almost certainly a worn-out valve seat – the little brass ring inside the tap body that the washer presses against.
After years of use, this seat gets pitted and rough, making a perfect seal impossible. This is where a tap valve reseating tool becomes your best friend. It’s a simple tool with a cutter on the end that you insert into the tap body. A few turns grinds the brass seat back to a perfectly smooth, flat surface. This technique is often a crucial step in advanced repairs like sewer relining, where a perfect seal is paramount.
This one extra step often makes the difference between a temporary patch-up and a lasting, drip-free repair.
Alright, let's get those hands dirty. With your tools laid out, it's time to dive in and get this leak sorted. Taps might seem similar on the outside, but their inner workings can be quite different, so the right approach is everything.
We’ll walk through the repair process for the two most common taps you’ll find in Aussie homes: the old-school compression tap and the more modern mixer.
The good news? Most of the time, the problem comes down to a tiny, worn-out part that’s easy to replace. The trick is getting to it without causing more trouble. My best advice is to take your time and be methodical. Trying to rush things is usually how you end up with a stripped thread or a nasty scratch on your nice sink.
This flowchart gives you a simple map of the journey ahead, showing the path for both main tap types and flagging the point where calling in a pro is the smarter move.
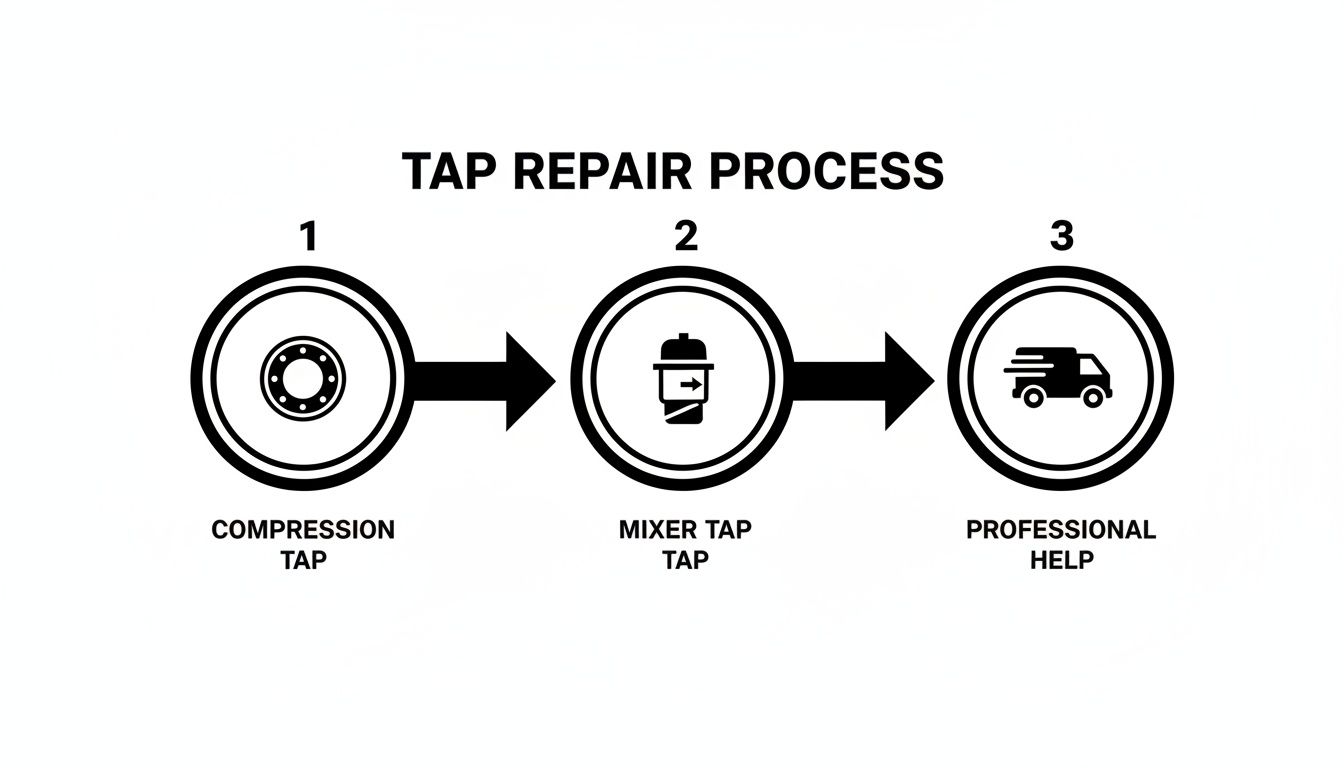
As you can see, whether you're swapping out a simple washer or a full cartridge, there's a point where the DIY risk isn't worth it. That's when a professional can step in and guarantee a fix that lasts.
Fixing a Traditional Compression Tap
This is the classic DIY plumbing job, and for good reason. Nine times out of ten, a leak in one of these is from a dodgy body washer or a perished O-ring. Here’s how you sort it out.
First, you need to get the handle off. Gently pry the decorative cap (the one marked 'H' or 'C') off with a small flat-head screwdriver. You'll see a screw underneath – undo that, and the handle should lift right off. If it's a bit stubborn, a little wiggle usually does the trick.
With the handle gone, you'll see a metal cover or shroud. This should unscrew by hand, revealing the large nut of the tap bonnet. This is where your spanner comes into play. Hold the tap body with one hand so it doesn’t twist, and use your spanner to turn the bonnet nut anti-clockwise. Once it's loose, you can unscrew the whole spindle.
You've found the culprit! At the very bottom of the spindle is the body washer, a little rubber disc held on by a screw. Just undo the screw, pop the old washer off, and replace it with a new one of the exact same size. That's usually all it takes.
While you've got it apart, have a look at the black O-rings around the spindle body. If they look cracked, brittle, or stretched, now is the time to replace them. They just slide off and on.
Before putting it all back together, run your finger around the valve seat inside the tap base. If it feels rough, a quick grind with a reseating tool will smooth it out for a perfect seal. Then, just reassemble everything in the reverse order you took it apart.
Tackling a Modern Mixer Tap
Mixer taps look a bit flashier, and their insides are a little more complex. The leak is almost always caused by a faulty internal cartridge, which is a single unit that controls everything. Swapping it out is easier than you might think.
Your first job is to find the tiny grub screw holding the handle on. It’s usually hiding behind a little red-and-blue plug at the base of the lever. Use a small Allen key to loosen it off, and the handle will lift straight up.
Now you can unscrew the chrome dome cover. This will expose the big retaining nut that locks the cartridge in place. Use your adjustable spanner to loosen this nut, and once it's off, you can pull the old cartridge straight out.
Crucial Steps for Cartridge Replacement
- Take a photo: Before you pull the old cartridge out, snap a quick picture on your phone. The new one has to go in the exact same way.
- Buy the right one: Take the old cartridge with you to your local plumbing supplier. There are heaps of different sizes, and you need a perfect match.
- Clean the housing: Give the inside of the tap a quick wipe with a clean rag to get rid of any gunk or grit before the new cartridge goes in.
Once you have the right replacement, carefully slot it into the tap body, making sure it’s lined up just like in your photo. Hand-tighten the retaining nut, then give it a final quarter-turn with the spanner. Be gentle here – overtightening can crack the new cartridge. Pop the handle back on, turn the water on slowly, and admire your leak-free tap.
If you run into trouble or can't find the right part, sometimes it's best to call it a day. A quick call to a reliable plumber in Balwyn or a skilled plumber in Hawthorn can save you a world of pain. If a job starts feeling bigger than you expected, our team at Amari Plumbing is always ready to step in. Feel free to reach out on our contact page for a quick, fixed-price quote.
Troubleshooting a Stubborn Tap Leak
Alright, so you’ve put in the new washer, reassembled the tap, and turned the water back on… only to hear that familiar drip, drip, drip. It’s enough to make you want to throw your spanner across the room, but hold on. This is a surprisingly common moment in DIY tap repair.
Don't jump straight to dismantling everything again. Take a breath. More often than not, the problem isn't that your repair failed, but that a second, hidden issue was lurking beneath the surface. This is just the next level of your plumbing detective work.
What If the Drip Gets Worse?
One of the most disheartening things is when the leak is suddenly worse than before. This doesn't mean you've broken it—it's actually a massive clue pointing to a couple of likely culprits.
- An Incorrectly Seated Washer: The new washer might have shifted just a fraction as you tightened the tap bonnet, stopping it from creating that perfect, watertight seal.
- A Damaged Valve Seat: This is a classic issue, especially in older taps. The brass seat inside the tap body can get pitted or have a tiny piece of grit stuck to it. When this happens, the new washer can't seal properly, and tightening it can sometimes make the leak even more obvious.
Another common roadblock is a handle that’s completely seized up with corrosion. If you can’t get it to move, resist the urge to apply brute force. Leaning on it too hard can snap the spindle or even crack the tap body, turning a simple fix into a full-blown replacement. A much better approach is to use a penetrating oil spray, let it work its magic for a bit, and then try again gently.
Expert Insight: A little trick we use for a stubborn handle is to wrap a thick cloth around it and give it a few firm but controlled taps with a rubber mallet. Often, that vibration is just enough to break the corrosion's grip without causing any damage.
Solving Post-Repair Problems
Sometimes, you fix the original leak, but a brand-new problem pops up. This is where a lot of people get stuck, but the solutions are usually pretty simple once you know what to look for.
A sudden drop in water flow is a big one. If you’re getting low pressure right after your repair, it’s almost certainly a bit of dislodged sediment or a sliver of the old washer that’s now stuck in the spout or aerator. A good way to confirm this is to see if the problem is isolated to just that tap. You can learn more about how to test water pressure at home to be sure. If it is just the one tap, simply unscrew the aerator at the very tip of the spout and clean out the small mesh filter inside.
Another unsettling issue is a loud shuddering or banging noise when you turn the tap on or off—what we call water hammer. This can happen if the new washer isn't the perfect fit, causing it to vibrate rapidly against the valve seat.
Red Flags: When It's Time to Stop
Knowing your limits is the mark of a smart DIY-er. There are a few clear signs that it’s time to put the tools down and call in a professional. A skilled Melbourne plumber will have seen it all before.
A stripped thread on the main tap body is a non-negotiable stop sign. Trying to force it will only lead to a leak you can't stop without replacing the entire fixture.
Likewise, if you uncover deep corrosion or hairline cracks in the tap body itself while you're working, its integrity is compromised. These are the moments when a small problem can escalate into a big one very quickly. Don't risk a flood; a professional Doncaster plumber like our team at Amari Plumbing can safely replace the faulty tap and make sure everything is connected perfectly.
When you feel you're in over your head, the safest and most reliable solution is a quick call to us via our contact page.
Knowing When to Call a Professional Plumber
Fixing a simple dripping tap can feel like a great DIY win, but an experienced homeowner knows when to put the tools down. There are absolutely times when pushing on with a repair can turn a small hassle into a full-blown plumbing disaster. Spotting these red flags is the key to protecting your home and your bank account. If you're searching for 'plumber near me' in the eastern suburbs, it's a sign you need expert help.
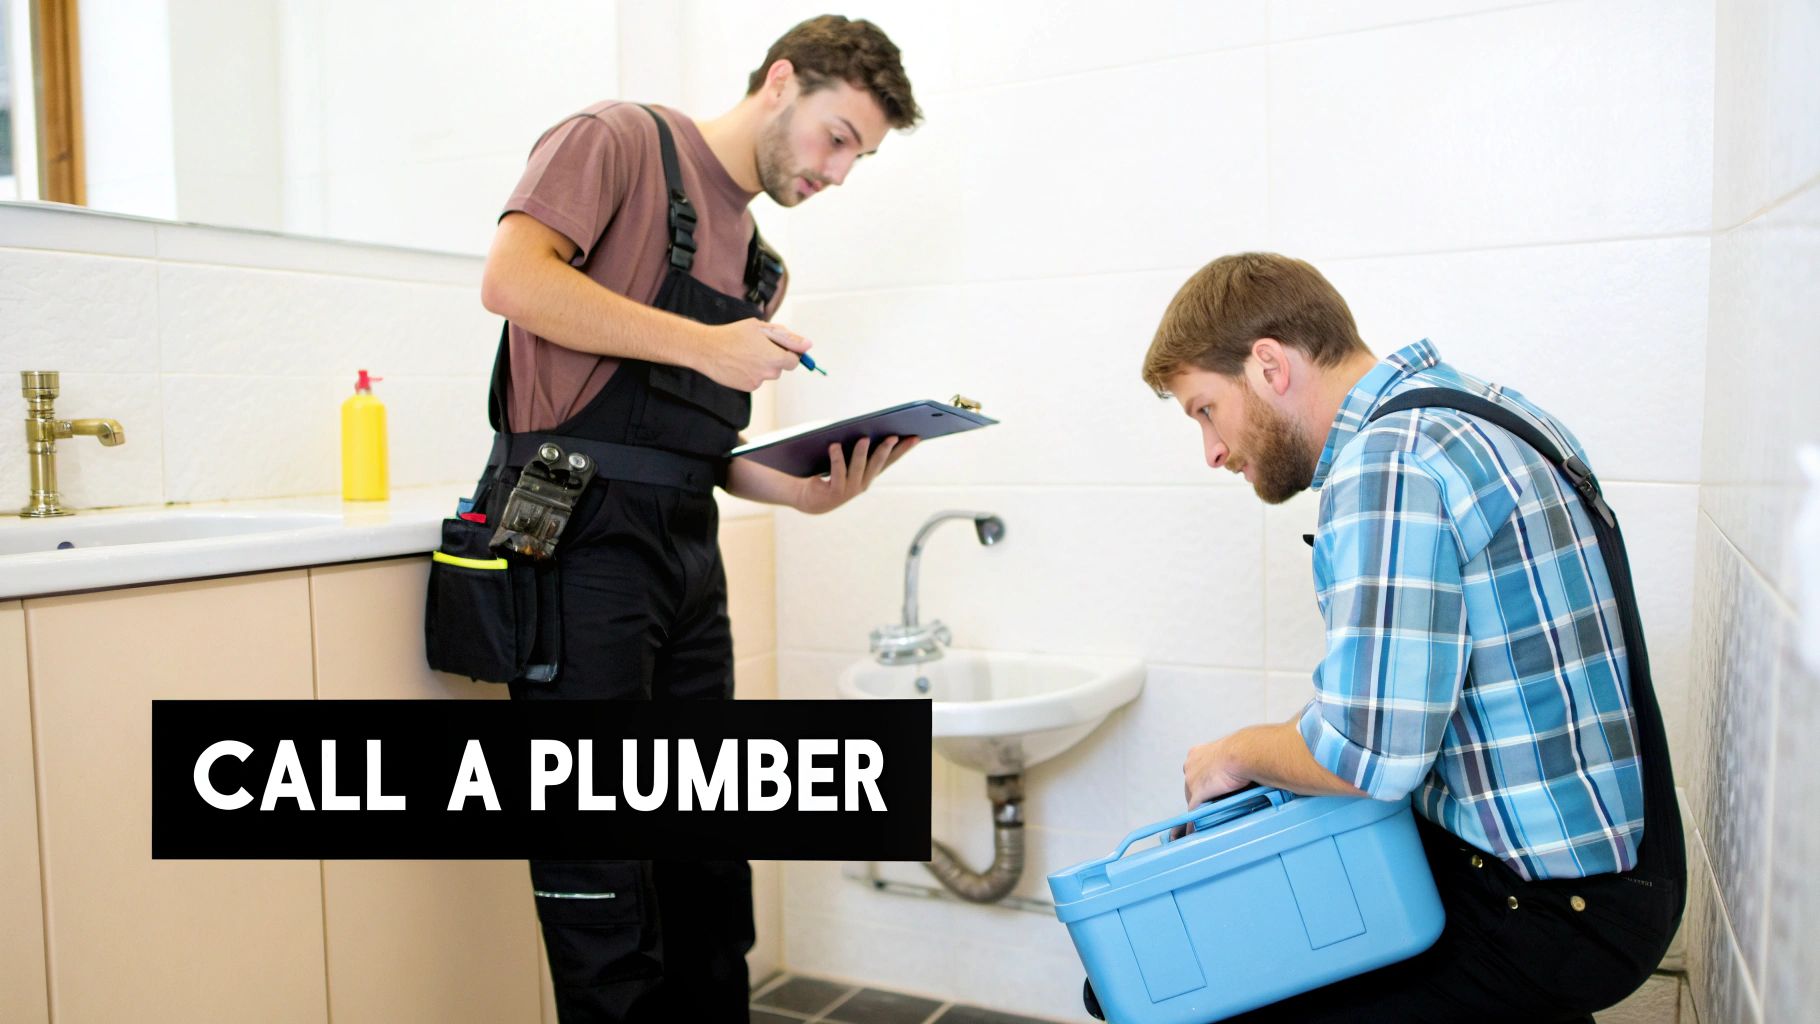
Think of it this way: sometimes, that drip is just the tip of the iceberg. It might be a symptom of a much bigger problem hiding in your walls or under your floors. Calling in an expert isn't admitting defeat—it's the smart move to stop serious damage before it starts. This applies to everything from blocked drains to gas leaks.
Clear Signs It's Time for an Expert
If you come across any of these situations, it's time to step back and call a professional. These issues usually need specialised tools and the kind of know-how that only comes with experience.
- The Drip Just Won't Die: You've swapped out the washer, maybe even reseated the whole valve, but that annoying drip is still there. This usually means there's a more complex internal fault that a simple part replacement can't fix.
- Serious Corrosion: Is the tap body covered in heavy rust or that chalky, greenish-white buildup? That’s a sign of a structurally weak tap. The next turn of your spanner could easily snap it right off, and you’ll have a geyser on your hands.
- Water Damage in the Wall: Seeing a damp patch or peeling paint on the wall behind the sink is a huge warning sign. It means the leak is probably coming from the pipework, not just the tap, and needs immediate professional attention.
- It’s a Symptom of a Bigger Issue: A tap that keeps leaking might be pointing to a deeper problem, like old, deteriorating pipes. This could require a more advanced fix like pipe relining in Melbourne to sort out the root cause for good.
The Value of Professional Service
When you call a licensed plumber from Amari Plumbing, you’re getting more than just a quick fix. You’re getting the peace of mind that comes from a job done right, all backed by our workmanship warranty. Plus, we give you upfront, fixed pricing, so you'll never be hit with a surprise bill. Whether you need a roof plumber in Melbourne or an expert in gasfitting, our team is qualified and ready.
This kind of reliability is more important than ever. The Australian plumbing industry is currently dealing with skill shortages. At Amari, we can often be on-site in as little as 90 minutes, which makes all the difference when you need help fast. Our emergency plumbers in Melbourne are on call 24/7.
If you find yourself with an urgent leak outside of business hours, our guide to after-hours plumbing services explains exactly how we can help.
By getting a professional in, you're not just stopping a leak. You're getting an expert assessment of your whole plumbing system's health, which helps turn small issues into big, expensive emergencies down the track.
Got Questions About Your Leaking Taps?
After countless call-outs across Melbourne's eastern suburbs, we've heard just about every question there is when it comes to a dripping tap. It’s one of the most common plumbing headaches, but the nitty-gritty can often be confusing. Here are some straightforward answers to the questions our plumbers get asked the most.
How Much Water Does a Leaking Tap Actually Waste?
You’d be shocked. That seemingly tiny drip adds up with surprising speed. A single tap dripping just once per second can waste more than 10,000 litres of water over a year. That’s enough to fill over 120 bathtubs!
This doesn't just add a noticeable chunk to your quarterly water bill; it also puts a real strain on our water resources. Fixing a leak is one of the easiest wins for conserving water and saving a bit of cash. For businesses, a few small drips across multiple bathrooms can become a major operational expense, which is why our reliable commercial plumbing services are so crucial for local companies in Bulleen and surrounds.
Why Is My Tap Still Leaking After I Replaced the Washer?
Ah, the classic DIY stumbling block. This is probably the number one reason we get called out to a "simple" tap repair. If you've put in a brand-new washer and that drip just won't quit, the culprit is almost always the valve seat.
Think of the valve seat as the small brass ring inside the tap that the washer presses against to create a seal. Over time, tiny particles in the water can cause it to become rough, pitted, or scored. A new washer just can't form a perfect seal against a damaged surface.
To fix it properly, you need a special reseating tool to grind the surface back to a smooth, flat finish. It could also be something as simple as a worn O-ring on the tap spindle letting water sneak past. If you've tried the basics and are still staring at a drip, one of our professional plumbers in Kew can diagnose the exact cause in minutes.
Can I Replace My Old Taps With a New Mixer Myself?
It’s definitely possible if you’re a confident and experienced DIYer, but swapping old separate hot and cold taps for a modern single-lever mixer can be trickier than it looks. First, you have to be absolutely sure the new mixer will fit the existing holes in your basin or countertop.
More importantly, getting the water connections right is critical. A small mistake during installation can lead to a significant leak under the sink—the kind that causes serious water damage before you even spot it. To guarantee a perfect, leak-free installation and protect your new tap’s warranty, we always recommend calling in a licensed plumber from our team serving Camberwell and the surrounding areas.
Is It Worth Repairing an Old or Cheap Tap?
That’s a great question, and honestly, it depends. For a simple washer replacement, repairing is almost always the most cost-effective option. The parts are cheap, and the job is quick.
However, if you're dealing with an older tap that's heavily corroded, needs multiple hard-to-find parts, or has a badly damaged valve seat, the cost and effort can start to pile up. In those cases, it’s often more economical in the long run to replace it with a modern, water-efficient model. You’ll save money on future bills and avoid the headache of another repair down the track. Our plumbers can give you an honest assessment and an upfront, fixed price for both repair and replacement options so you can make an informed choice.
When a simple drip turns into a stubborn plumbing puzzle, don’t let it get the better of you. The team at Amari Plumbing and Gasfitting has the tools and expertise to sort out any tap issue, big or small, ensuring a repair that lasts. Contact us today for a fast, fixed-price quote and let's get that leak sorted for good.